Top 5 Pre-Operation Inspection Practices for Tractor Mowers
Jan 15, 2018 . 2 min read

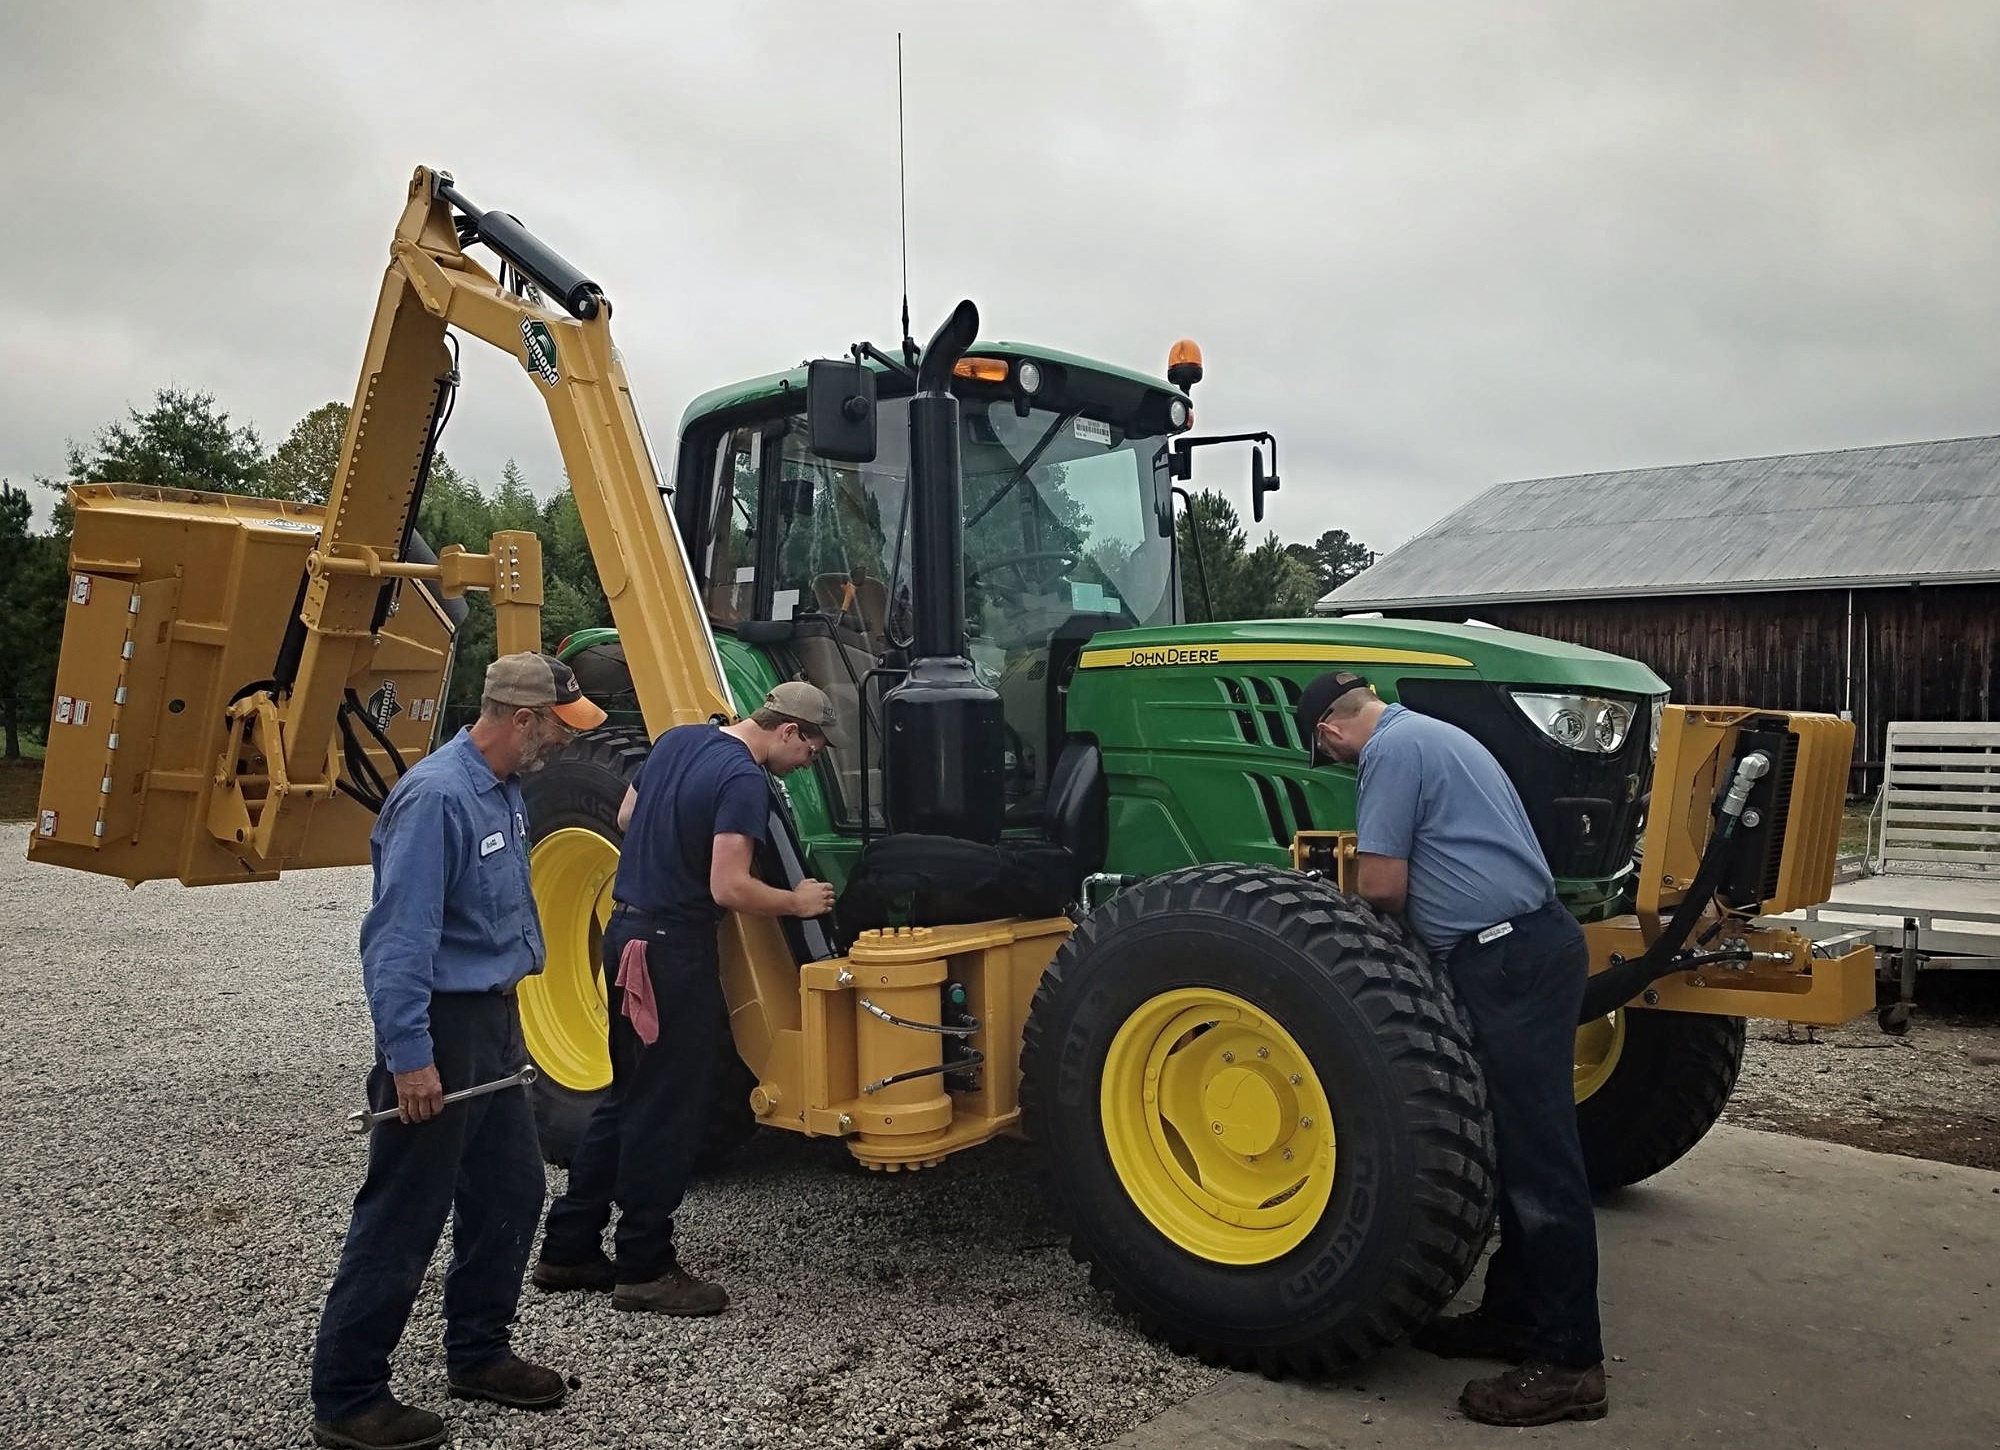
 Inspection of your tractor and mower before beginning the workday can help keep your equipment in optimal working shape.
Inspection Key Points & Tips
Inspect these key points on your tractor mower to avoid unnecessary downtime.
1. Perimeter Inspection
- Check for leaks, worn or loose cables, and hoses. Note that dirt buildup can indicate the presence of small leaks.
- Verify safety shields and features are in working order, such as head lights, hazard lights, and turn indicators.
- Check for damaged or loose hardware securing your mower to the tractor, as well as damage or wear to the mower head, frame, etc.
- If your tractor is equipped with glass water and sediment bowls for the fuel and hydraulic lines, check them for water and/or debris.
2. Engine Bay Inspection
- Inspect the radiator and grill screen, and clear out any debris using air pressure to avoid damaging the fins. If the tractor is equipped with air conditioning, check the condenser and remove any debris using air pressure as well.
- Check the fan’s drive belt for wear and tension.
- Normally it's not necessary to check tractor air filters daily; however, if you've been operating in a dusty/dirty environment, or notice excessive vegetation residue buildup on the radiator or grill screen, you should take a look. Black smoke in the exhaust can also be a sign of insufficient air mixing with the fuel.
3. Fluid Level Inspection
- Top off the tractor’s fuel tank; add fuel conditioner for gas tractors using ethanol or anti-gelling additive to diesel tractors even if using a winter diesel blend. In the summer, some additives for diesel tractors can aid with lubricity now that today’s diesel fuel is largely sulfur free.
- Check the tractor’s radiator fluid levels and top off as needed; having to add large quantities of radiator fluid often point to more serious, underlying problems.
- Make sure the engine oil level is between the recommended marks on the dipstick, and make sure you are checking the oil level as recommended by the manufacturer; often times, this means after the engine has been running and warmed to its standard operating temperature.
- Check hydraulic fluid levels for both the tractor transmission and the mower’s hydraulic reservoir (if present.) The reservoir requires a minimum oil level to operate the mower efficiently and prevent overheating. The tractor’s transmission oil also powers the auxiliary hydraulics, which of course control the mowers movements.
4. Wheels and Tires Inspection
- Check tire pressure and correct as needed. Under pressure tires have increased tread wear and fuel consumption. It is even more important to check tire pressures in areas where large temperature swings occur, as tire pressure decreases with colder temperatures. Adjust the tire pressures to the terrain; road use often uses a few more pounds of air than driving on softer dirt or rougher surfaces.
- Many tractors are equipped with wheel counter-weights; these weights should be checked daily, or even more frequently if possible for loosening or damage. If they suddenly come off, they will cause damage!
5. Tractor Mower Controls Inspection
- Confirm the tractor will not start with the tractor in gear or the mower power switch in the “ON” position. Repair immediately if either of these should fail.
- Check the function of the mower hydraulic cylinders. Movements should be as indicated on the controls or the operator’s manual, and should be smooth and not slow or jerky. The tractor engine should be at normal operating RPM when conducting these tests.
These inspection practices can be completed in only a few short minutes and will pay big dividends in the long run. You will save time and money, and decrease downtime, by catching these issues before they become problems.
For common maintenance questions visit Tech Tips.
Similar Posts
LASTING PERFORMANCE WITH EVERY CUT Diamond Mowers blades are engineered for land clearing professionals who de…
Choosing the right mulching teeth can make or break your land-clearing job. Discover how Diamond Mowers’ optio…
Summer is a prime time for land-clearing pros to take on high-paying jobs like tall grass mowing, brush remova…


